

Caching Plugins
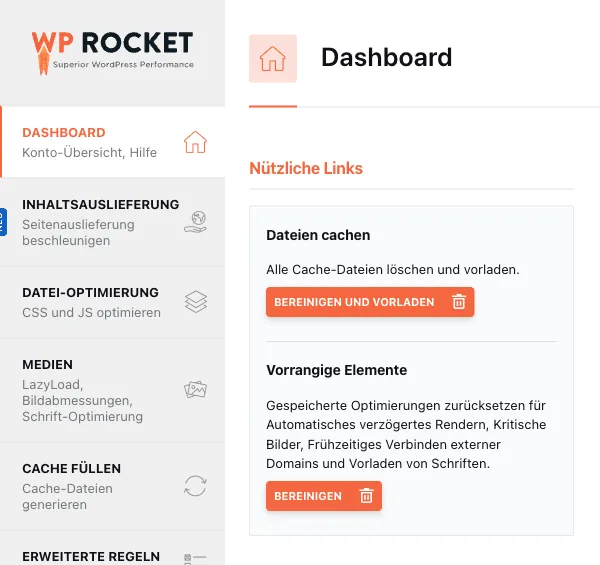
When a caching plugin is installed on your website, each page is fully assembled and stored on the server. On a subsequent visit, this cached version is delivered directly instead of rebuilding the page from the database each time. This saves time and significantly speeds up your website.
Where Problems Arise on Property Websites
Section titled “Where Problems Arise on Property Websites”When a property is deleted or changed, it is not sufficient to only update the cached property page itself. WP-ImmoMakler often displays properties in multiple locations on your website — such as homepage sliders or landing page property lists. These pages would also need to be regenerated to prevent deleted or changed properties from continuing to appear.
Why We Clear the Entire Cache
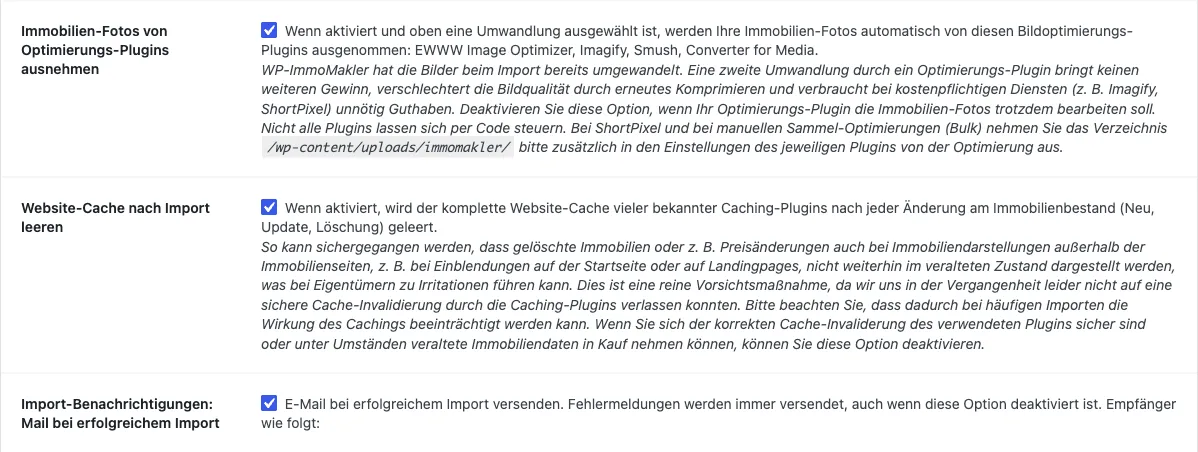
Section titled “Why We Clear the Entire Cache”Experience has shown that most caching plugins cannot reliably identify all the locations on a website where a property appears. In the past, this led to deleted properties with outdated prices remaining visible on homepages and landing pages — understandably frustrating for owners. To avoid such situations, we clear the entire website cache whenever the property inventory changes, to ensure that no outdated listings or incorrect prices appear anywhere.
Can This Feature Be Disabled?
Section titled “Can This Feature Be Disabled?”Yes. Navigate in your website’s backend (wp-admin) to WP-ImmoMakler → Settings → Import. There you can deactivate the “Clear website cache after import” checkbox.
Which Caching Plugins Are Cleared Automatically
Section titled “Which Caching Plugins Are Cleared Automatically”After an import, WP-ImmoMakler clears the cache of these plugins and hosting environments:
- WP Rocket
- W3 Total Cache
- WP Super Cache
- WP Fastest Cache
- LiteSpeed Cache
- WP-Optimize
- Autoptimize
- Cache Enabler
- Cachify
- Hummingbird
- Breeze
- Super Page Cache (Cloudflare)
- Raidboxes
Not cleared automatically:
- NitroPack – at the explicit request of the NitroPack developer team.
- Your host’s server-side caches that operate without one of the plugins listed above, as well as CDNs such as Cloudflare without the Super Page Cache plugin. Set a short cache duration there, or clear the cache after changes through your host’s interface.
Watchlist PLUS
Section titled “Watchlist ”The watchlist is different for every visitor. Since version 5.70.0, WP-ImmoMakler automatically accounts for this with page caches:
- The watchlist page itself is never cached. WP-ImmoMakler excludes the page from WP Rocket’s cache directly. Most other caching plugins recognize the page through the WordPress signal
DONOTCACHEPAGE, which WP-ImmoMakler sets on the watchlist page. - The save buttons show the state of the visitor’s own watchlist, even when the list or detail view is served from the cache.
You do not need to configure anything for this. If your host runs its own server-side cache, check once whether the watchlist is up to date after adding a property. If it is not, add the watchlist’s address (/immobilien/merkliste/ by default) to your host’s cache exclusions.
Minified Files
Section titled “Minified Files”WP-ImmoMakler already delivers its own scripts and stylesheets minified, meaning without spaces, line breaks and comments. You benefit from this even without an optimization plugin. If your optimization plugin minifies as well, that does no harm.
If the SCRIPT_DEBUG constant is active in your wp-config.php, WP-ImmoMakler delivers the readable versions instead, for example for troubleshooting. Your own stylesheets, such as the immomakler.css in the WP-ImmoMakler Child-Skin-Plugin, are always delivered unchanged.
Delaying JavaScript
Section titled “Delaying JavaScript”Many optimization plugins can hold off running JavaScript until the visitor’s first interaction — in WP Rocket, for example, via the Delay JavaScript Execution option.
With WP Rocket, you do not need to add any exclusions for this. WP-ImmoMakler excludes the image gallery’s own scripts so the gallery starts immediately when the page loads. Its remaining scripts are designed to run correctly even when delayed.
With other plugins that delay JavaScript (for example Perfmatters, FlyingPress, or LiteSpeed Cache), add these two entries to the plugin’s exclusions:
immomakler-swiper.min.jsimmomakler-galleryThe second entry covers both the readable and the minified version of the gallery script (immomakler-gallery.js and immomakler-gallery.min.js).
Without these exclusions, the image gallery shows its images stacked on top of each other until the first interaction instead of as a slider, and the page shifts as soon as the gallery starts.
Measuring Load Time
Section titled “Measuring Load Time”When measuring load time with PageSpeed Insights or Lighthouse, keep the following in mind:
- Measure after the cache has been warmed up. WP Rocket’s Remove Unused CSS option generates the required CSS for each page individually, separately for mobile and desktop — freshly after every cache clear. Until it is done, WP Rocket serves the full stylesheets, and the measurement comes out worse. Warm up the cache first with Preload Cache or Clear Cache and Preload, and only measure afterwards. You can tell whether the CSS has already been generated by looking for a
<style id="wpr-usedcss">block in the page’s source code, in the head section. - Compare with and without WP Rocket. Appending
?nowprocketto a page’s address makes WP Rocket serve it without its optimizations. This shows you how much of a measurement result WP Rocket accounts for. - Keep the import in mind. If Clear website cache after import is active, the page cache is rebuilt after every import that includes changes. Measurements taken right after an import therefore show pages that are not yet in the cache.