

Enfold
WP-ImmoMakler provides dedicated elements for the Avia Layout Builder (ALB) of the Enfold theme. They are available automatically as soon as Enfold is active as the theme — no configuration is required.
In the editor’s elements panel, you’ll find the elements in their own WP-ImmoMakler section, alongside Enfold’s own sections such as “Layout Elements” and “Content Elements”.
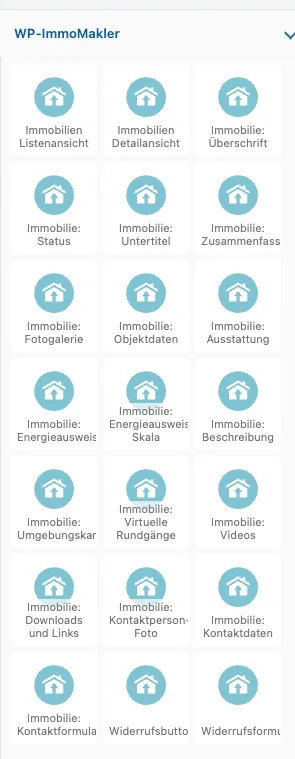
Placing elements on a template page
Section titled “Placing elements on a template page”The Avia Layout Builder designs individual pages and posts — it doesn’t know about templates for the property list and detail view. That’s why you place the WP-ImmoMakler elements on a template page: an ordinary WordPress page that you register with WP-ImmoMakler as a template.
Available elements
Section titled “Available elements”| Element | Description | Used on |
|---|---|---|
| Property Listview | Complete property list with search form from the WP-ImmoMakler HTML template | Template page for the list view |
| Property details | Complete property detail page from the WP-ImmoMakler HTML template | Template page for the detail view |
Individual building blocks of the detail view
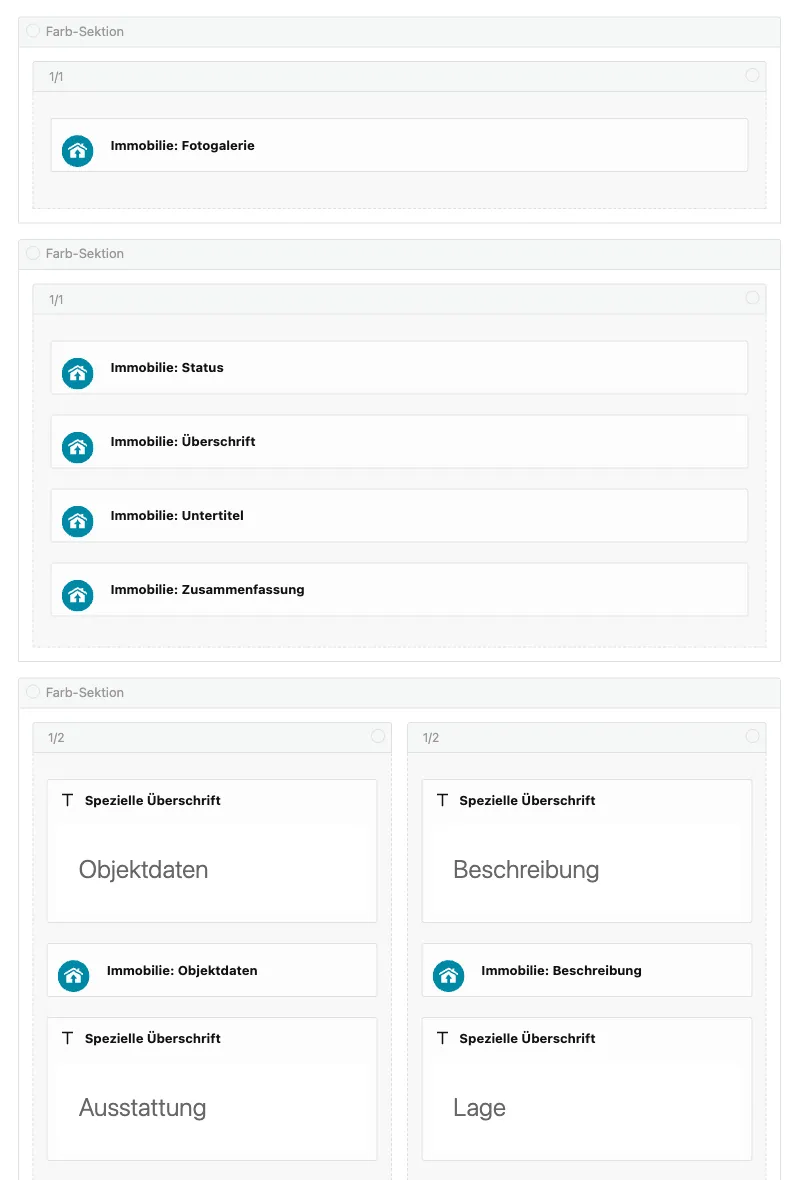
Section titled “Individual building blocks of the detail view”Instead of the complete detail view, you can also assemble the page from individual building blocks and distribute them freely in the layout — for example the gallery in full width, with two columns for property data and description underneath.
| Element | Content |
|---|---|
| Property: Heading | The property’s heading |
| Property: Status | The status, e.g. “reserved” or “sold”. For available properties, the element stays empty |
| Property: Subtitle | Postal code, city, property type, and marketing type |
| Property: Summary | The summary (post excerpt) |
| Property: Image Gallery | The image gallery |
| Property: Property Data | The property data as a list |
| Property: Features | Features and amenities |
| Property: Energy Certificate | The energy certificate details |
| Property: Energy Certificate Scale PLUS | The energy certificate’s color scale |
| Property: Description | The description texts |
| Property: Location Map | The location map |
| Property: Virtual Tours PLUS | The virtual tours (3D tours) as a preview image with lightbox, aspect ratio and corner radius adjustable |
| Property: Videos | The property’s videos, aspect ratio and corner radius adjustable |
| Property: Downloads and Links | Downloads and links |
| Property: Contact Person Photo | The contact person’s photo |
| Property: Contact Details | The contact person’s details |
| Property: Contact Form | The contact form (direct enquiry) |
These elements only output something on a property page. On an ordinary page, they stay empty.
Each one comes with its own settings, like the widgets for Elementor:
- Property Data, Contact Details, and Energy Certificate give you a toggle per field, plus labels on/off, the width of the label column, the alignment of the values, and dividers. A field only appears if it’s switched on and the property has a value for it.
- Image Gallery: slideshow or static image and all related settings — which images, layout and aspect ratios, thumbnail strip size, transition and duration, autoplay, grid and height of the static variant, the grid layout of equally sized tiles (columns, aspect ratio, crop or show in full, captions), the mosaic of blocks of four photos each (block aspect ratio, row height distribution, image count), hover effect, spacing, corner radius, and the arrow color.
- Features: as a list or side by side, number of columns, and a freely selectable icon from Enfold’s own icon sets.
- Description: which of the four texts is output, plus the clean-up — remove formatting, detect lists, fix typography, link addresses and phone numbers.
- Downloads and Links: both lists can be toggled individually, as a list or side by side, optionally in a new tab.
- Heading and Subtitle: the HTML tag, from H1 to SPAN.
- Contact Person Photo: aspect ratio, corner radius, alignment, and maximum width.
- Location Map: the map’s height.
Here’s what a template page assembled from building blocks looks like in the Avia Layout Builder: one color section per section, with columns and the WP-ImmoMakler elements inside them.
Withdrawal
Section titled “Withdrawal”| Element | Content |
|---|---|
| Withdrawal Button | Button or link that opens the withdrawal form. Under Display, you choose between a link to the withdrawal page, an overlay, and no link |
| Withdrawal Form | The withdrawal form. On a property page, the property is pre-filled |
Neither of these two requires a property page — the button often belongs in the footer, the form on its own withdrawal page.
Options for the complete elements
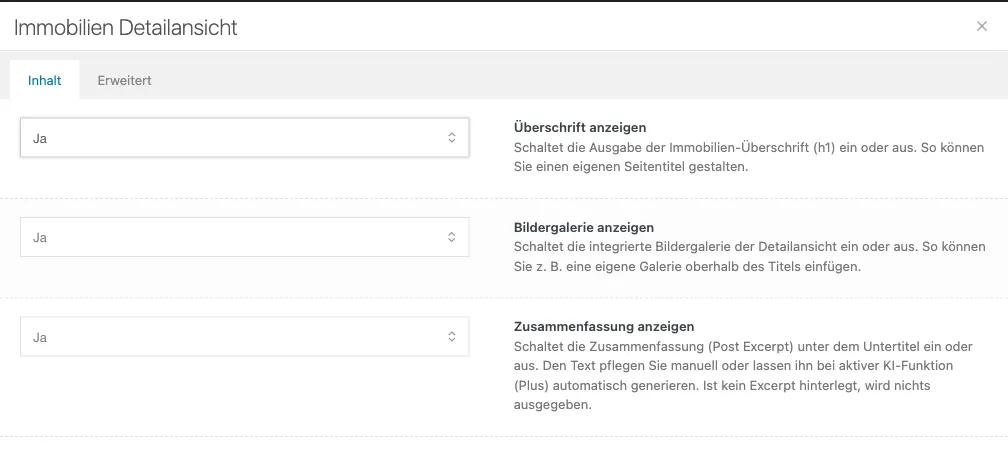
Section titled “Options for the complete elements”Both complete elements open a window with the Content and Advanced tabs when clicked. In the Content tab, you determine which parts of the view the element outputs:
| Option | Element | Description |
|---|---|---|
| Show heading | both | Outputs the heading (h1). Set to “No” if you design the page title yourself |
| Show image gallery | Detail view | Outputs the image gallery within the detail view. Set to “No” if you place the gallery elsewhere |
| Show summary | Detail view | Outputs the summary (post excerpt) below the subtitle. If no summary is stored, nothing is output |
All options are set to “Yes” unless you change them.
The Advanced tab contains the standard Enfold options for every WP-ImmoMakler element: under Responsive, Element Visibility, which lets you hide the element per screen size, and under Developer Settings, a short description for the backend editor, a custom ID, and a custom CSS class.
Dynamic Content
Section titled “Dynamic Content”Enfold can insert dynamic content into any text field of an element — via the magic wand icon next to the field. WP-ImmoMakler provides the property’s data there, the same way the Dynamic Tags do for Elementor. You’ll find it in six groups:
| Group | Content |
|---|---|
| WP-ImmoMakler: Immobilie | All property data, including areas and prices |
| WP-ImmoMakler: Energieausweis | The energy certificate’s fields, for all countries |
| WP-ImmoMakler: Kontaktperson | The contact person’s details |
| WP-ImmoMakler: Texts | Heading, subtitle, marketing type, status, the four description texts, the features as a list, plus the list view’s heading and search result title |
| WP-ImmoMakler: Links | The property’s detail view, the PDF print view, the first PDF attachment, the first PDF attachment with “floor plan” in the title or file name, the gallery page, the property list view, and a “back to the list view” link that returns visitors to the list they came from and scrolls there to the property’s card |
| WP-ImmoMakler: Bilder | Featured image, contact person’s photo, the first five property photos, and the first three floor plans — each as the image’s URL |
The Links and Images groups are also available in Enfold’s link and image picker — so you can link an Enfold button directly to the PDF print view without entering the address by hand.
For example, this lets you put the purchase price into an Enfold heading, use the featured image as the background of a color section, or link an Enfold button to the PDF print view.
Setting up the list view
Section titled “Setting up the list view”-
Create a page
Create a new page under Pages → Add New, for example titled “Template: Property List View”, and activate the Avia Layout Builder.
-
Insert the element
Open the WP-ImmoMakler section in the elements panel and insert the Property Listview element. Design around it however you like — for example a color section, a heading, or a text column.
-
Check the options
Click the element and set Show heading to “No” if your theme or layout already outputs the title.
-
Publish the page
Publish the page.
-
Register as a template
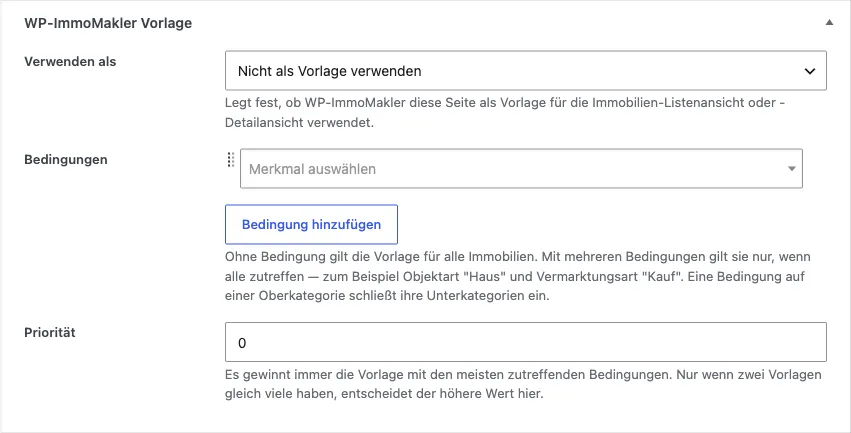
In the page editor, under the WP-ImmoMakler Template panel, select List view (Properties) under Use as and save.
Then open the property list view (usually /immobilien/). Search filters, sorting, and pagination work as usual.
Setting up the detail view
Section titled “Setting up the detail view”-
Create a page
Create a second page, for example “Template: Property Detail View”, and activate the Avia Layout Builder.
-
Insert the element
Insert the Property details element from the WP-ImmoMakler section.
-
Set the options
Click the element and set whether the heading, image gallery, and summary should appear. For example, if you want to show the gallery in full width above the title, set Show image gallery to “No” and place the Property: Image Gallery element wherever you want.
-
Publish the page
Publish the page.
-
Register as a template
In the page editor, under the WP-ImmoMakler Template panel, select Detail view (Property) under Use as and save. Under Conditions you can tell the template which properties it applies to, if needed — for example one detail view for “house for sale” and another for “flat to rent”.
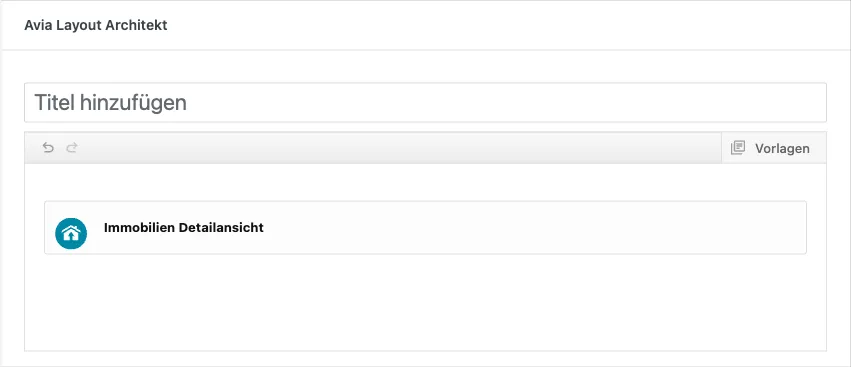
You’ll find the WP-ImmoMakler Template panel in the page editor, below the Layout Builder.
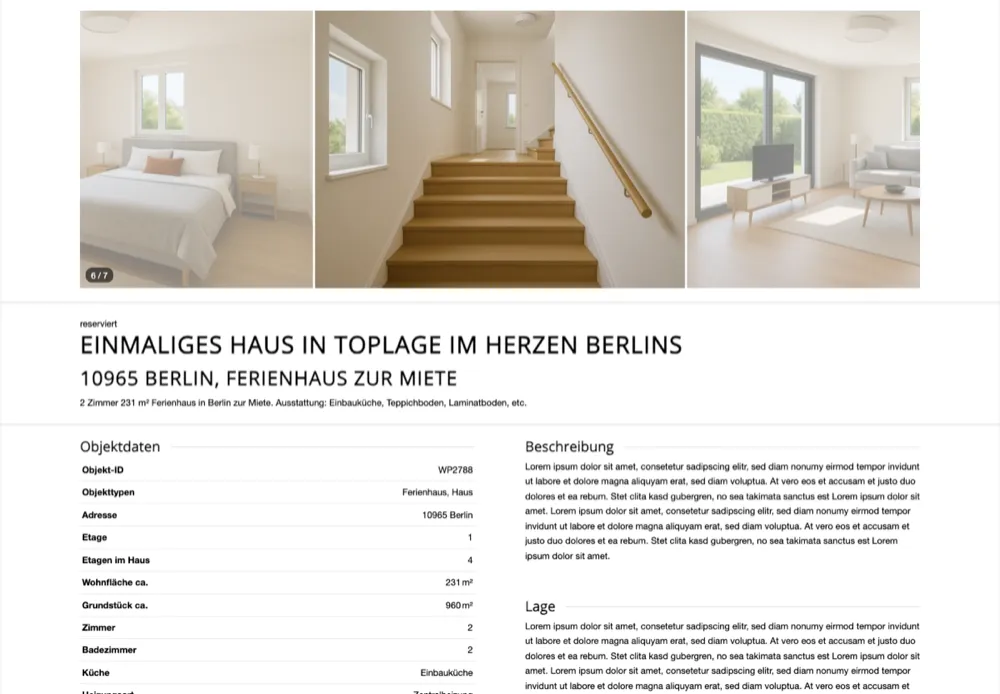
Each property detail page then appears in your Enfold layout, with the data of the respective property being viewed.
Customizing the display
Section titled “Customizing the display”The elements bring their own deliberately minimal CSS, so your theme’s fonts and colors come through — they don’t adopt the display of the WP-ImmoMakler templates. You can customize this via:
- the settings of the respective element (see above)
- the custom CSS class in the element’s “Advanced” tab, if you only want to target this one element
- your own CSS via the WP-ImmoMakler Child Skin Plugin
The two complete elements are the exception: they output the WP-ImmoMakler templates and therefore follow the Customizer under Appearance → Customize → WP-ImmoMakler. The same applies to the contact form.
You might also be interested in
Section titled “You might also be interested in”- Template Pages — register pages as templates for the list and detail view
- Settings: Theme Builder
- Making Update-Safe Customizations
- Customizing the List View